How to set private name servers in bigrock.com or .in

  • Step 1 – Login to bigrock.com or bigrock.in and click your domain

Bigrock home

  • Step 2 – Click Child Name Servers

Select The domain

  • Step 3 – Enter Givan Nameservers and IP Address in the box

3

  • Step 4 – Click Name Servers.

4


  • Step 5 – Select Custom Option and Enter you name servers you added in previous steps. ns1.<yourdomain> and ns2.<yourdomain>. Then click Update Name Servers.
  • 5
  • Step 6 – Done. You need to wait some time and refresh the page to see the newly added details.

How to set private name servers in namesilo.com

How to set private name servers in namesilo.com

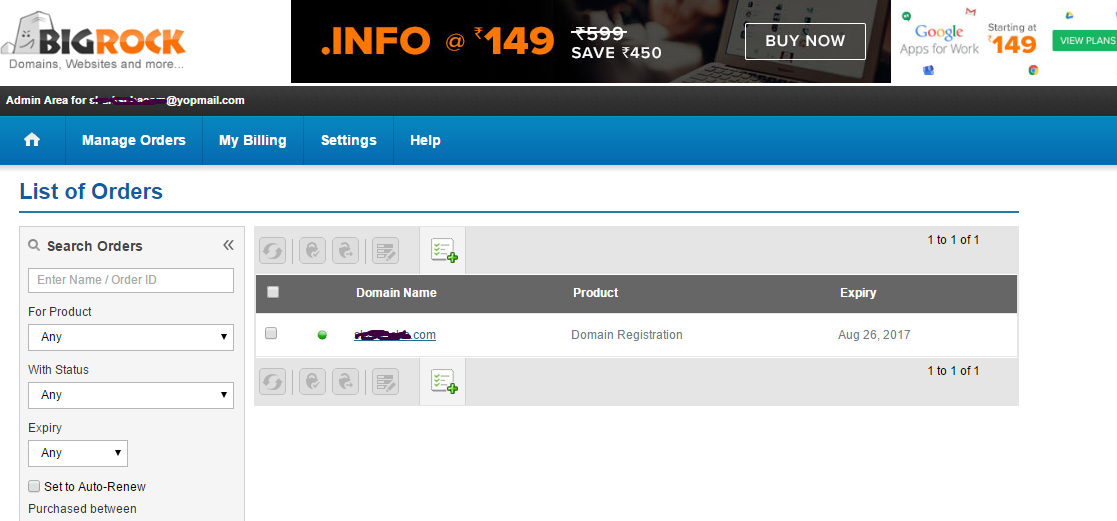
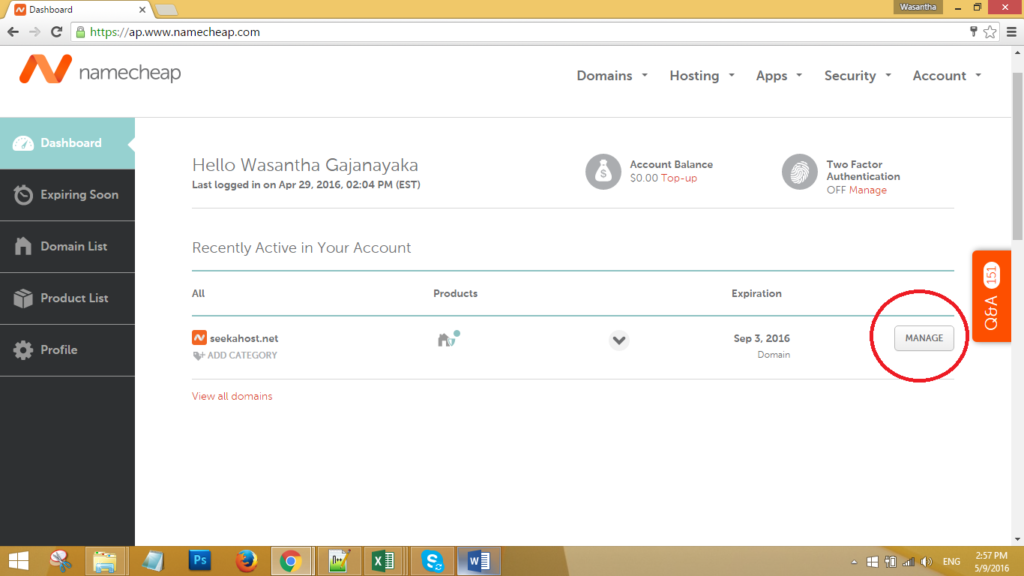
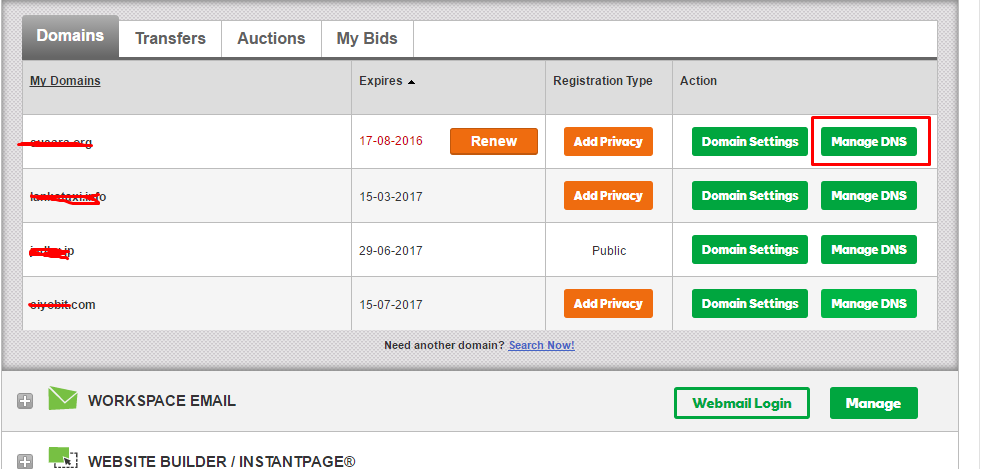
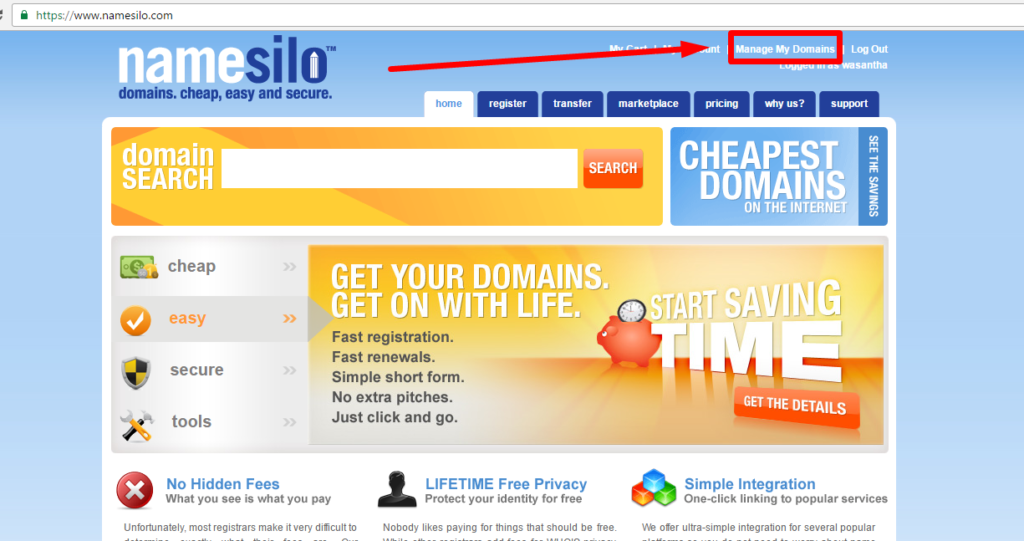
  • Step 1 – Login to namesilo.com and click Manage My Domains

screenshot_2

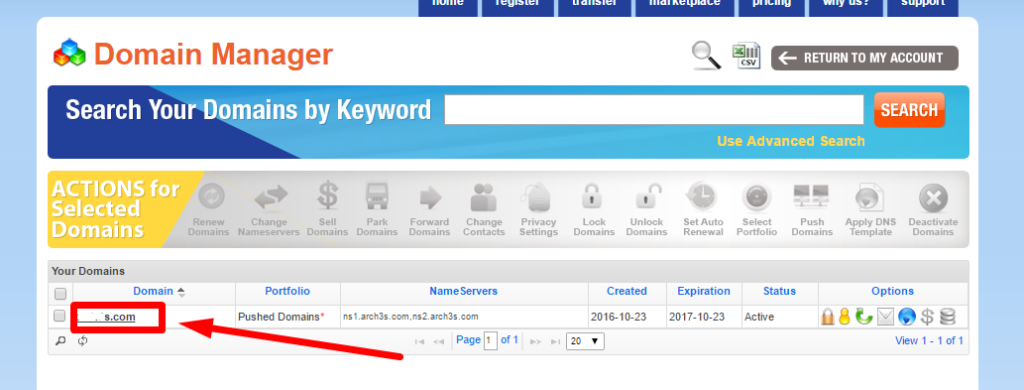
Step 2 – Click to the Domains that you want from the list

screenshot_3

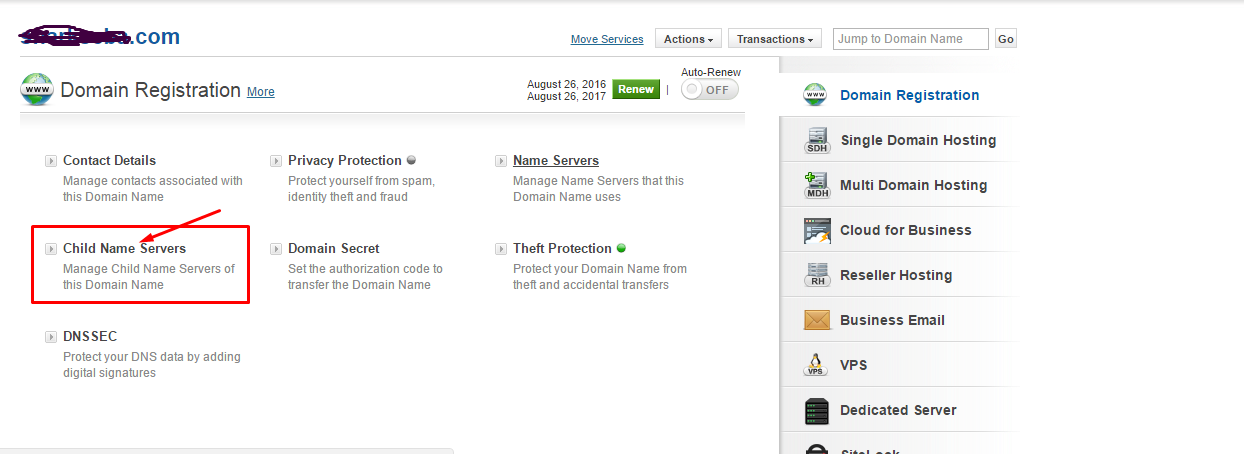
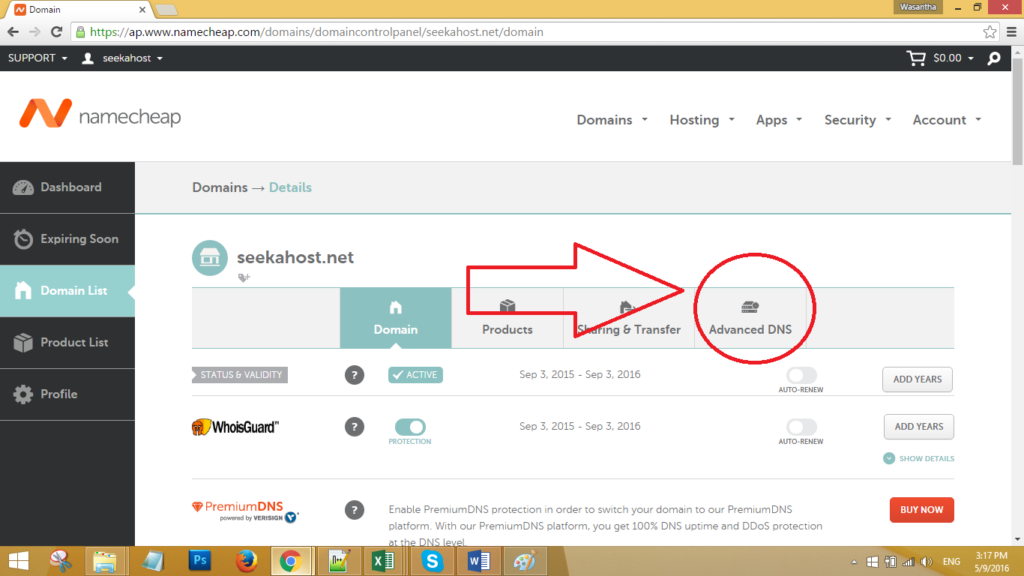
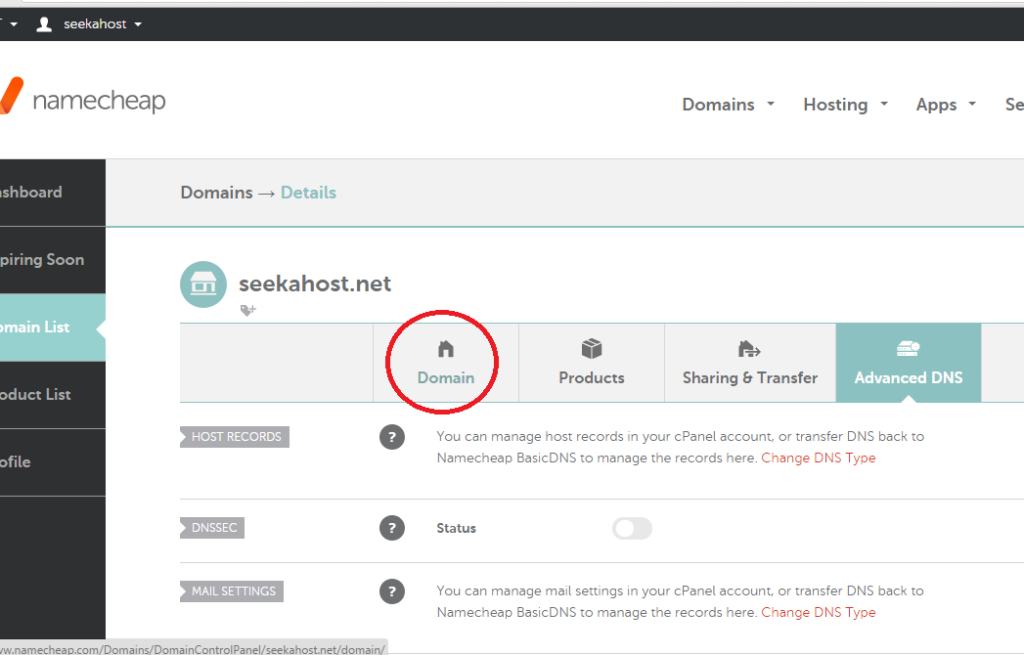
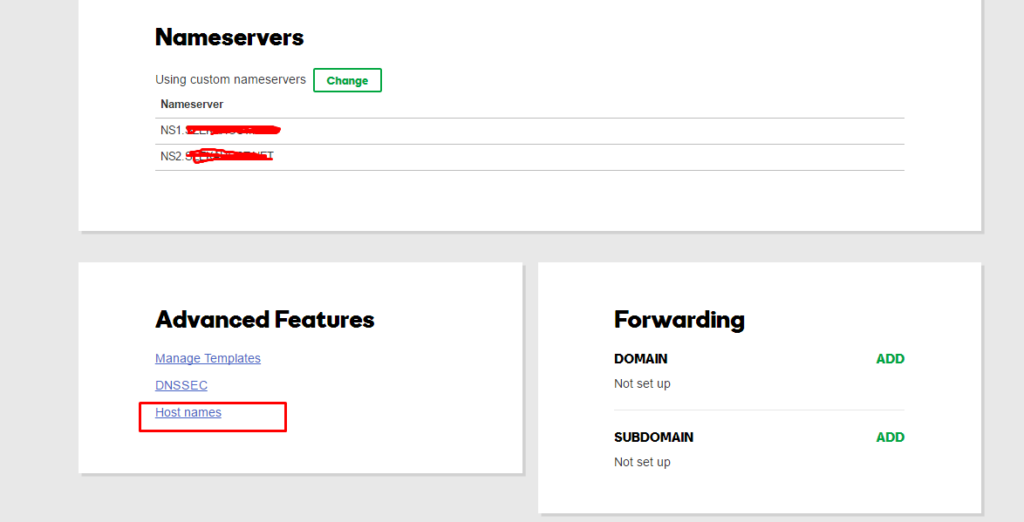
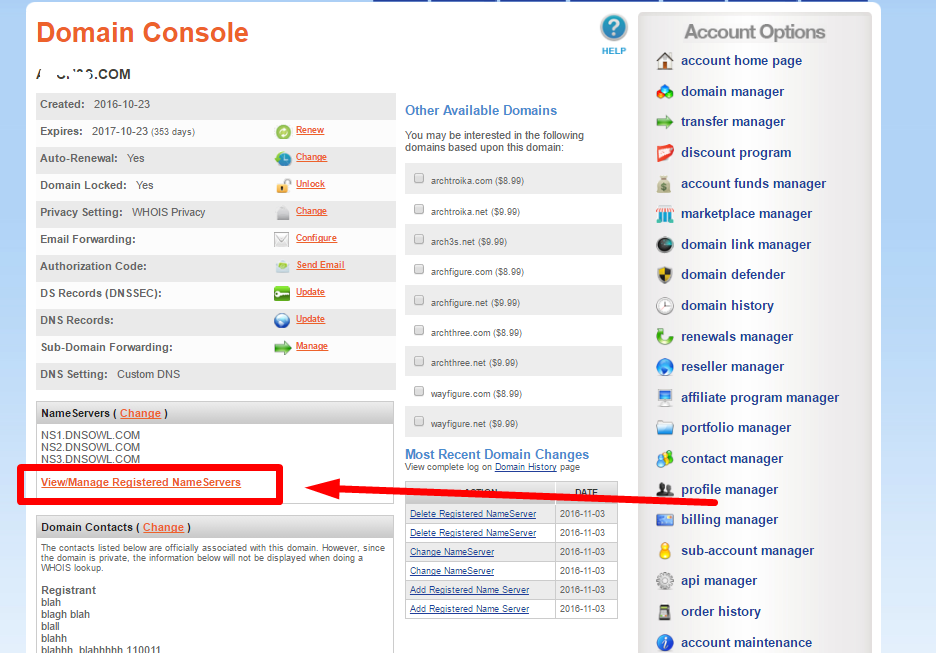
Step 3 – Go to View/Manage Registered NameServers

screenshot_4

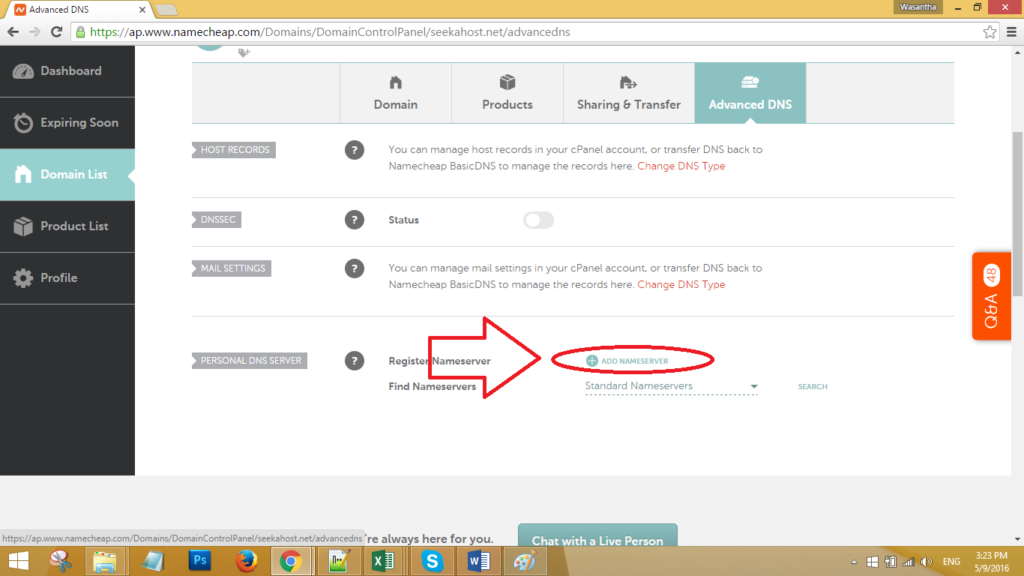
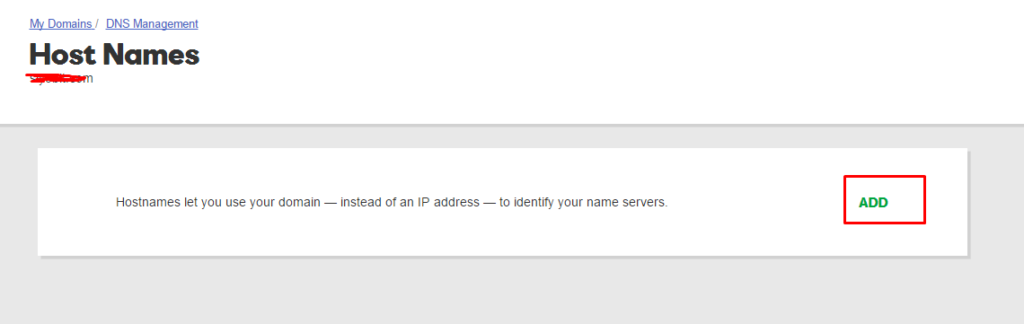
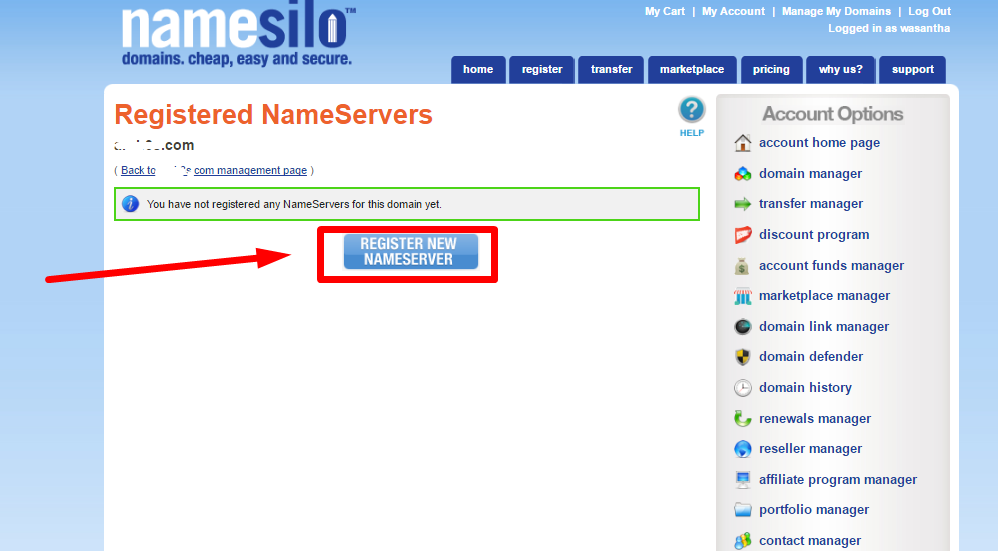
Step 4 – Click Register New NameServers Button.

screenshot_5

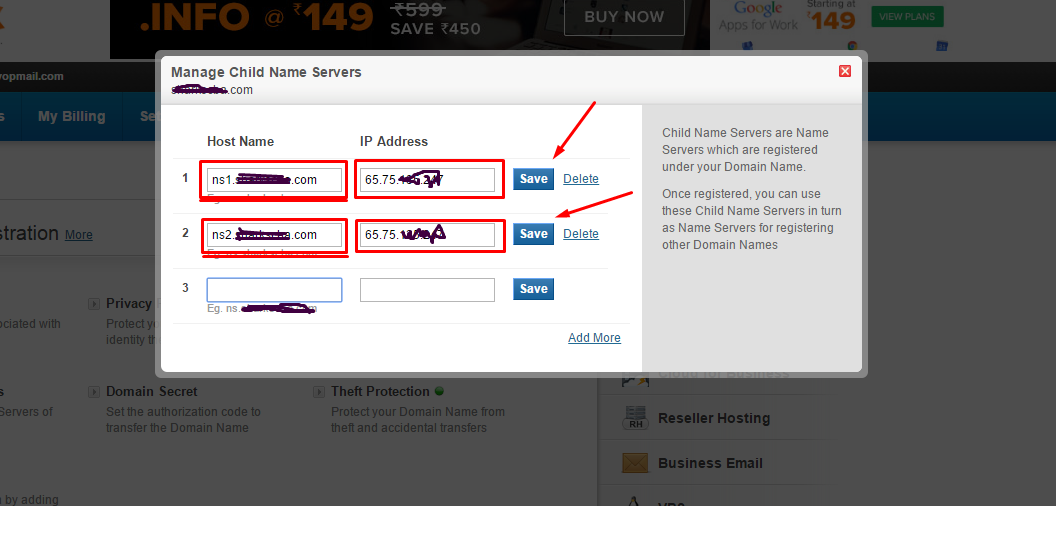
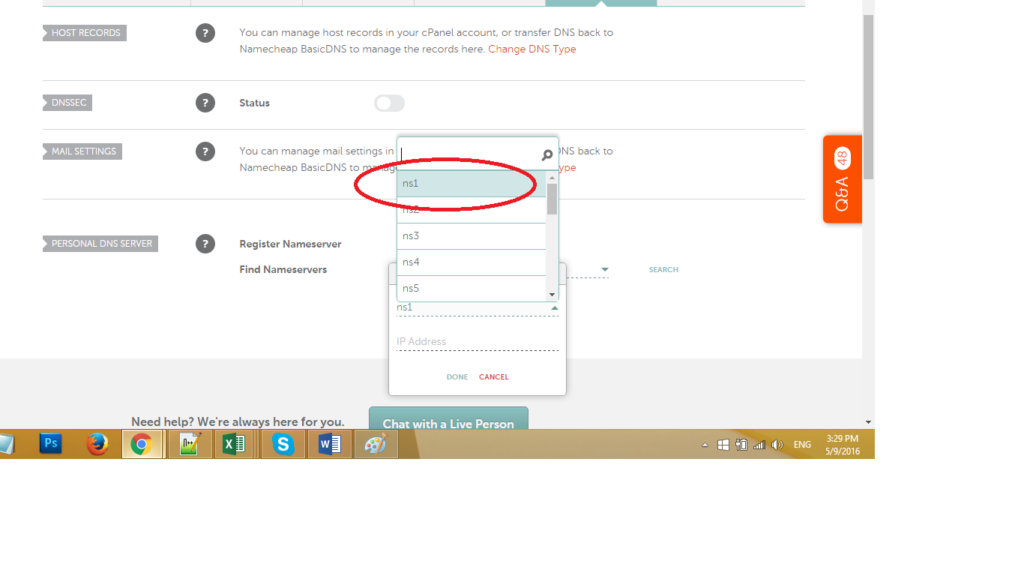
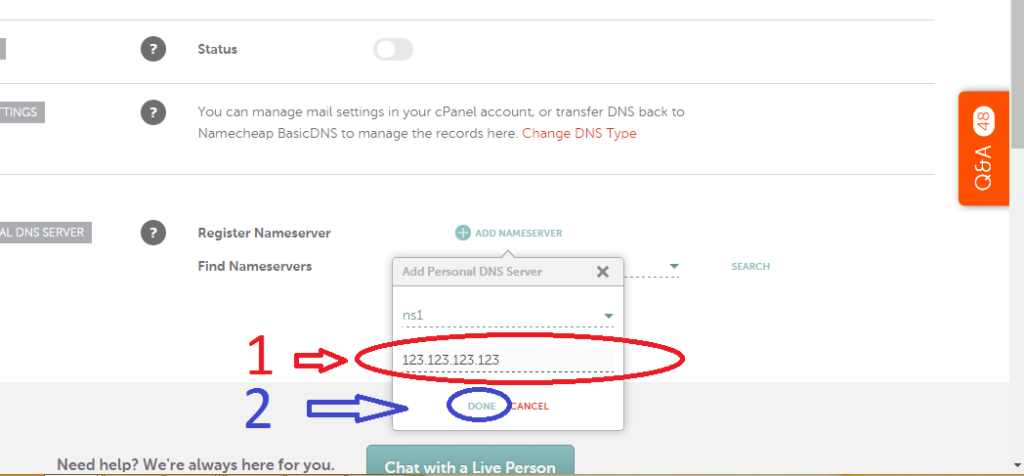
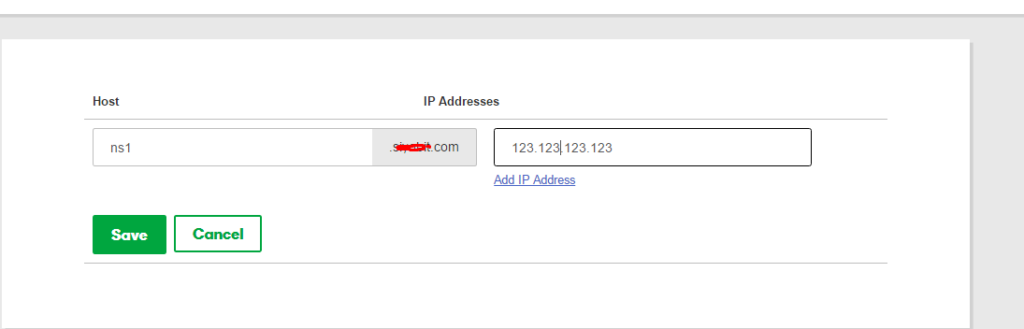
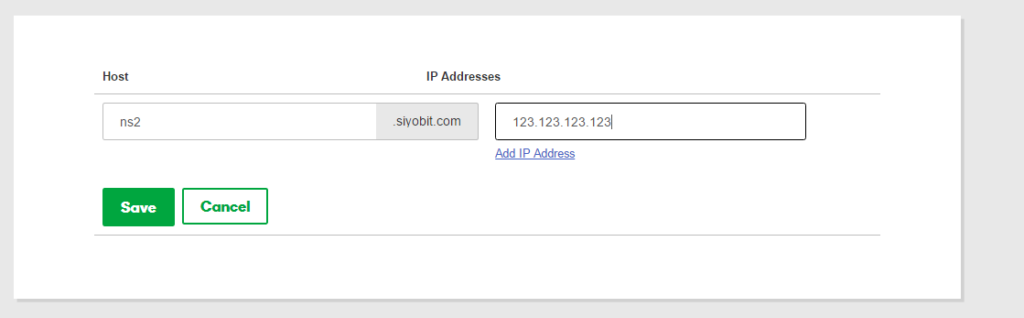
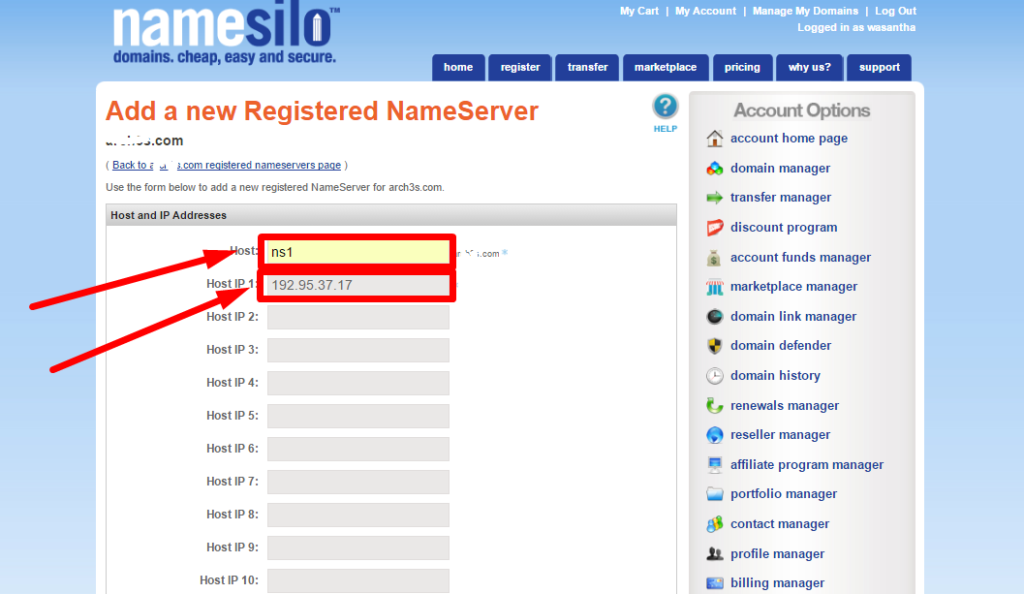
Step 5 – Enter ns1 to Host and the IP to Host IP 1. Then click Submit.

screenshot_6

screenshot_7

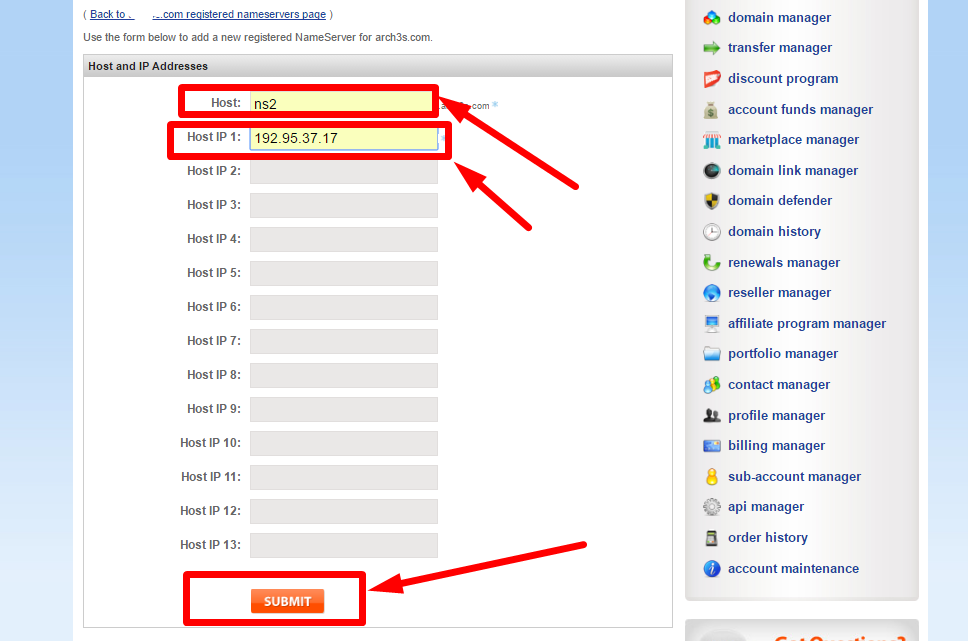
Step 6 – Click Register New NameServers Button again.

screenshot_8

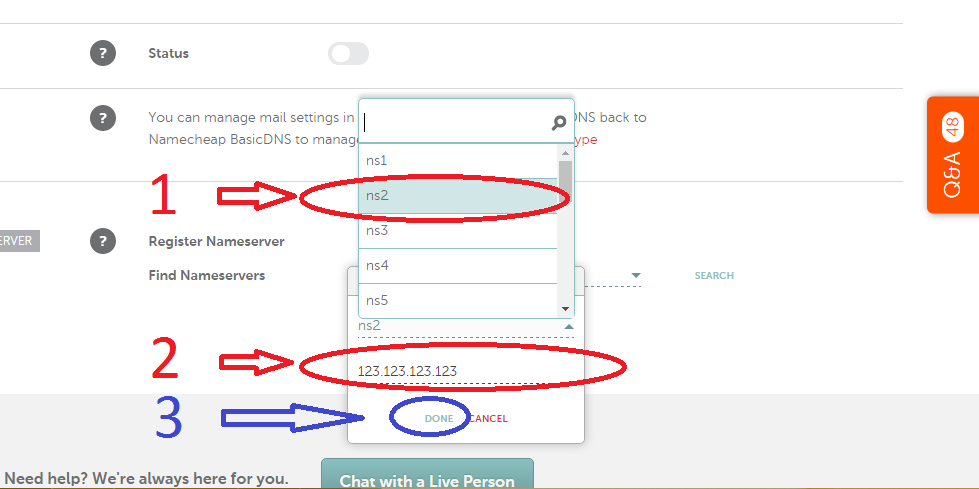
Step 7 – add Ns2, give the IP and click Submit.

screenshot_9

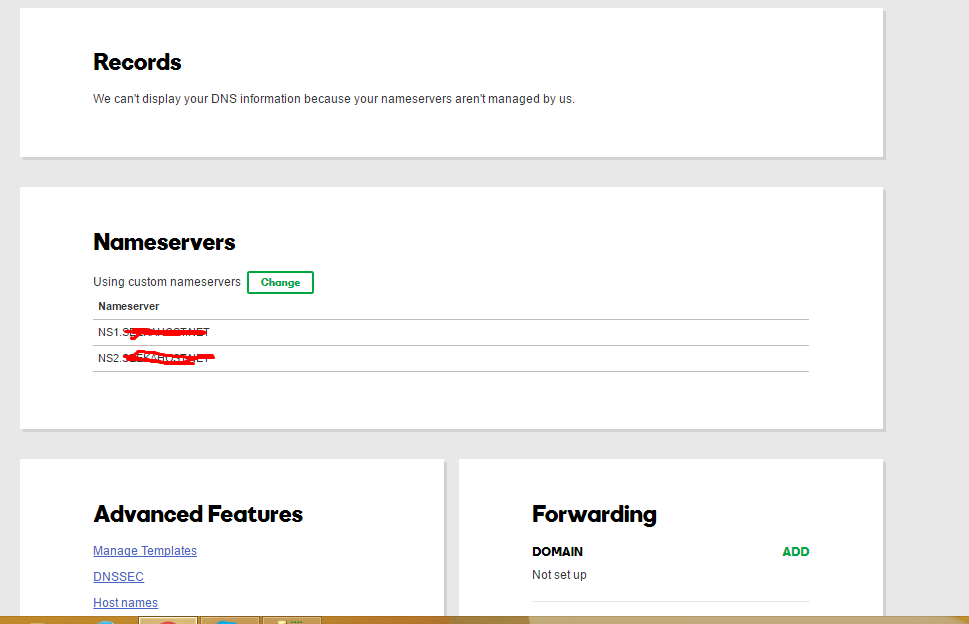
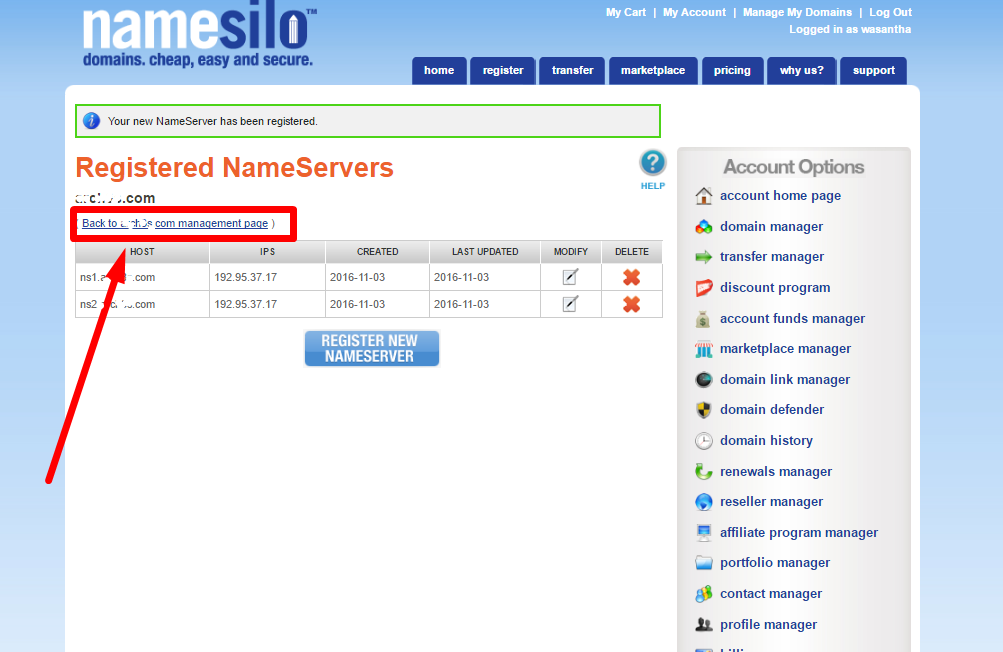
Step 8 – Click  (Back to xxxxx.com management page ) link

screenshot_10

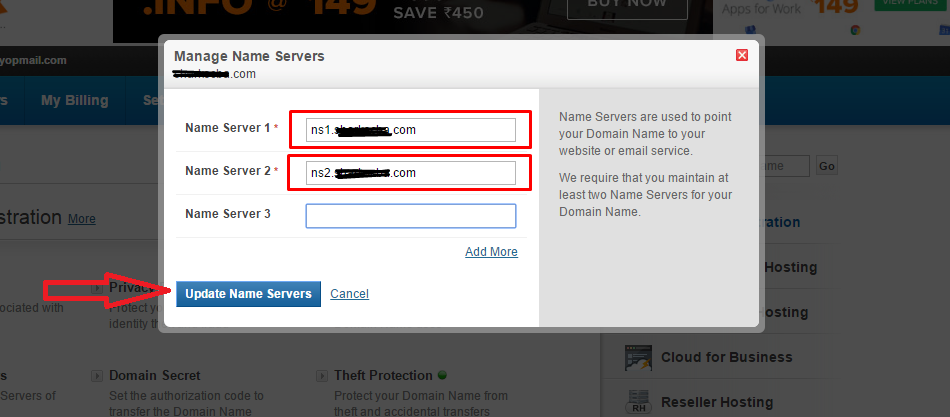
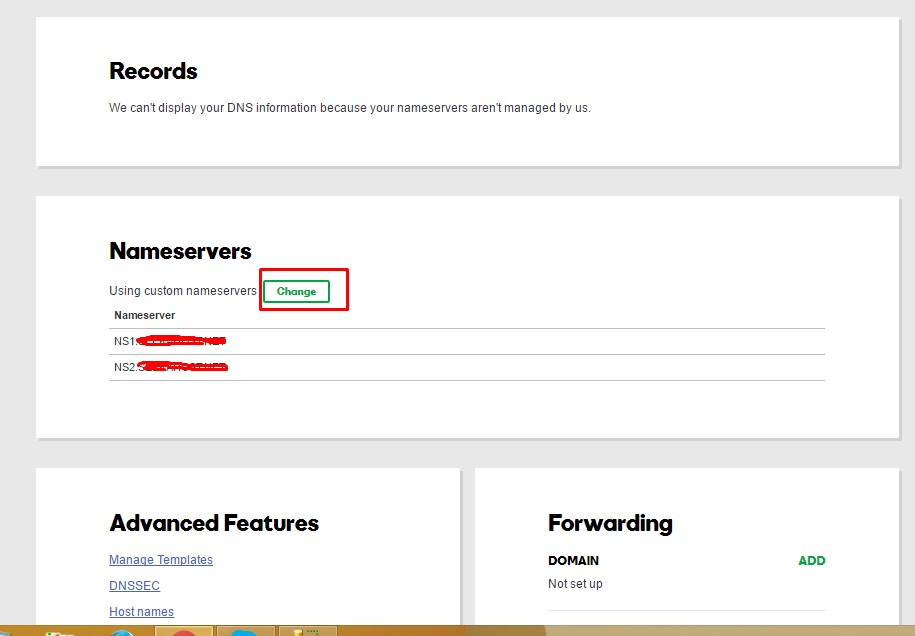
Step 9 -Click Change Link near the Name Servers.

screenshot_11

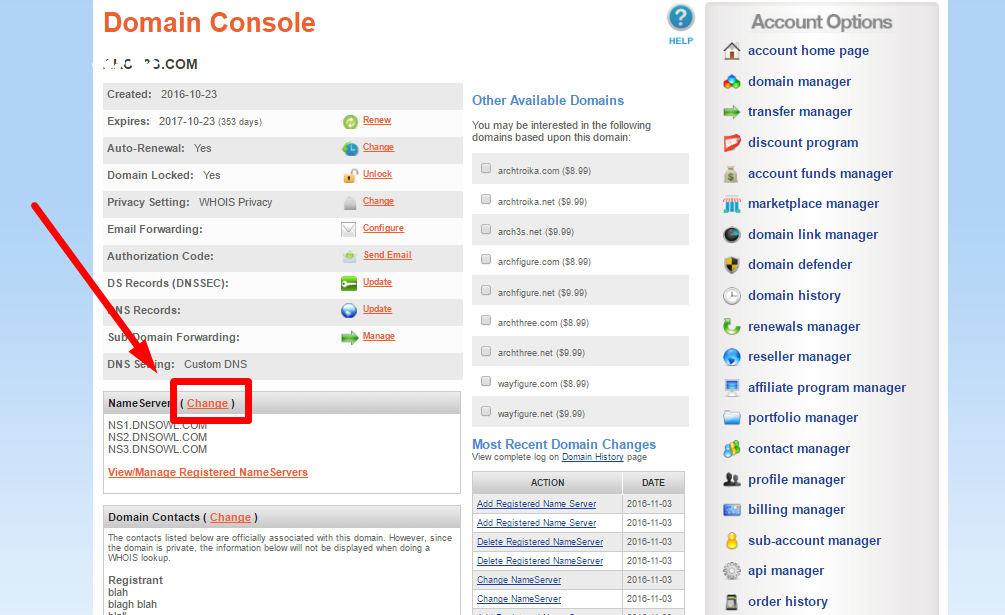
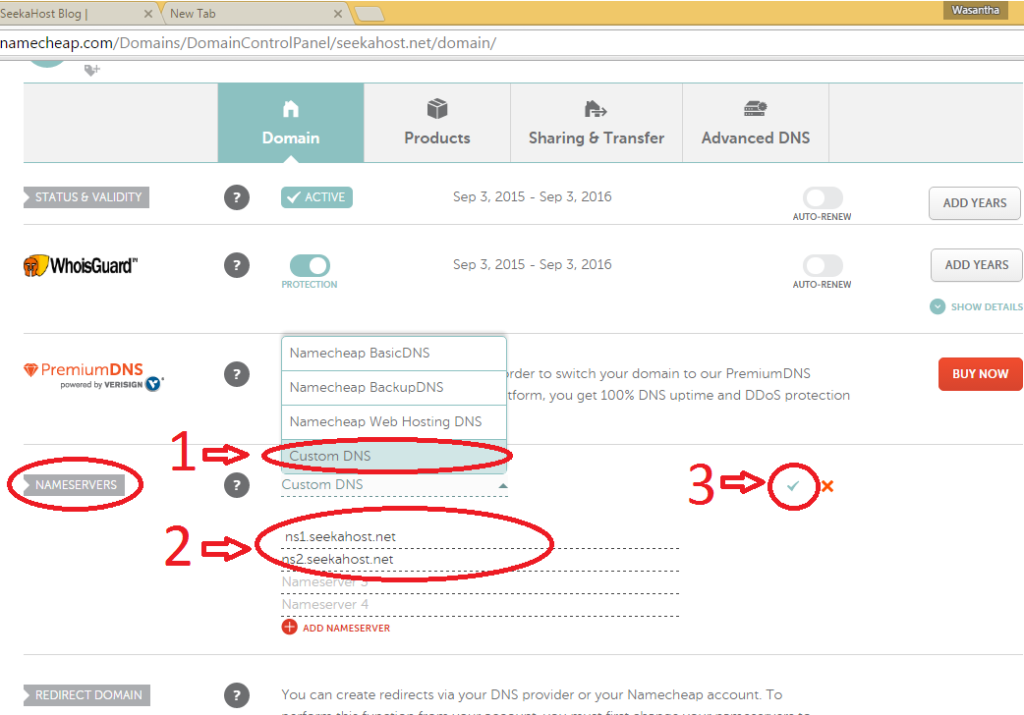
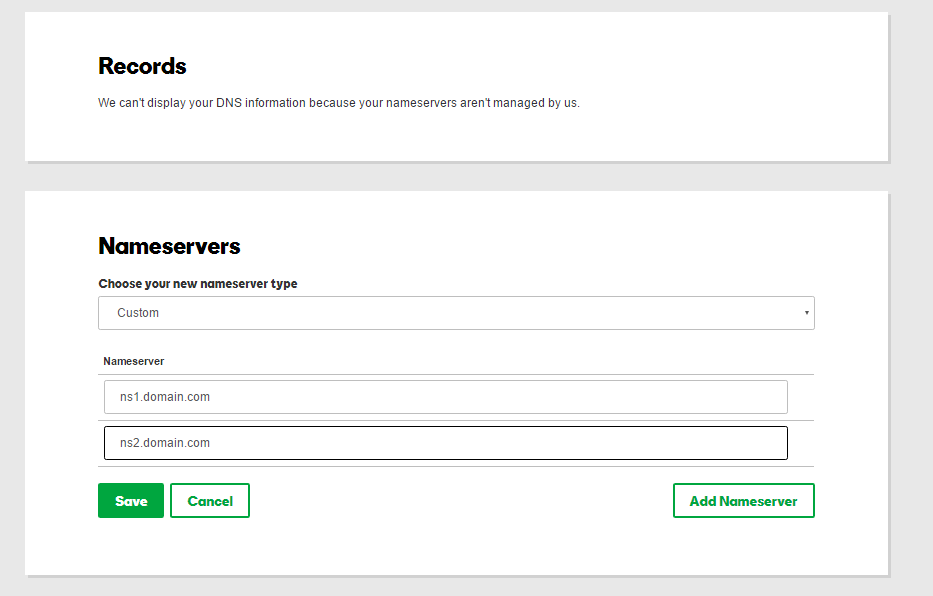
Step 10 – Change the Name Server 1 and Nameserver 2 with created nameservers in previous steps. Then Click Submit.
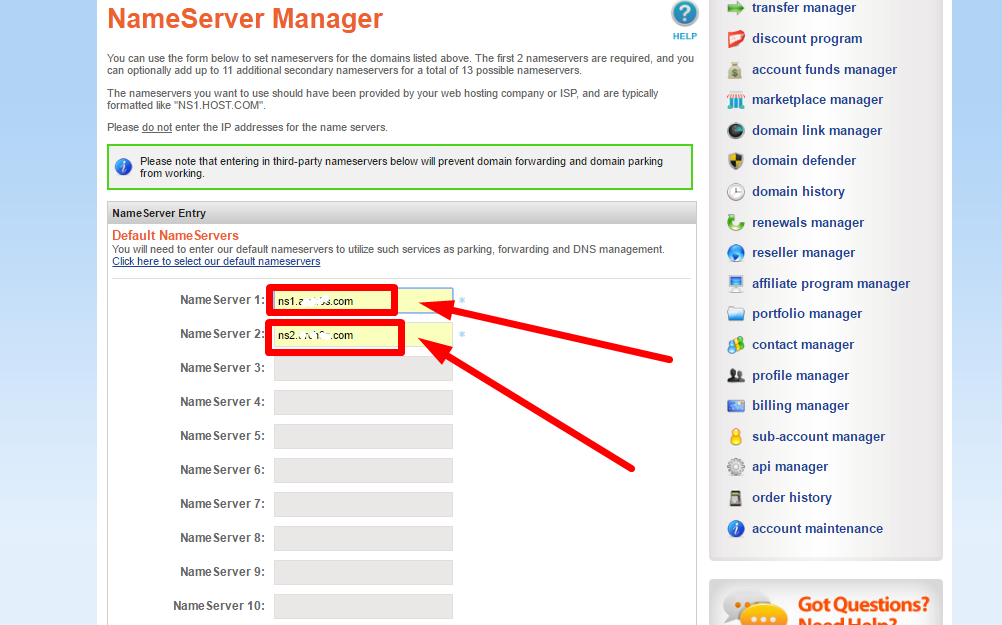
screenshot_12

screenshot_13

Step 11 – Done.


How to set private name servers in namecheep.com

How to set private name servers in namecheep.com

  • Step 1 – Login to namecheep.com

Domain List

Step 2 – Goto Manage of your domain and click to the Advance DNS

Advance DNS in Namecheep

Step 3 – Go to Add name server button

Add Name Server

Step 4 – Select Ns1 from the list.

Select Ns1

Step 5 – Add IP address that given to you and click Done.

Add IP Address

Step 6 – Add Name server button again.

Add Name Server

Step 7 – Select Ns2, give the IP and click done.

Select Ns2

Step 8 – Go back to domain.

Goto Domain

Step 9 – Go to Name Server section and Select Custom Name servers and add ns1.yourdoamin and ns2.yourdomain that previously added.

Custom DNS

Step 10 – Select tick mark.

Step 11 – Done.


How to set private name servers in godaday.com

  • Step 1 – Login to GoDaddy.com

Screenshot_1

  • Step 2 – Click Manage Domain for your domain

Screenshot_2

  • Step 3 – Click Host Names

Screenshot_3

  • Step 4 – Click Add

Screenshot_4

  • Step 5 – Enter your details. ns1 and IP address and click Save

Screenshot_5

  • Step 6 – Click Add Button again enter ns2 and ip. Then save.

Screenshot_6

  • Step 7 – Go back

Screenshot_7

  • Step 9 – Click change Under Nameservers.

Screenshot_8

  • Step 10 – Select Custom Option and Enter you name servers you added in previous steps. ns1.<yourdomain> and ns2.<yourdomain>. Then click ok.

Step 12 – Click Save Button

Step 13 – Done. You need to wait some time and refresh the page to see the newly added details.