- Step 1 – Login to GoDaddy.com

- Step 2 – Click Manage Domain for your domain

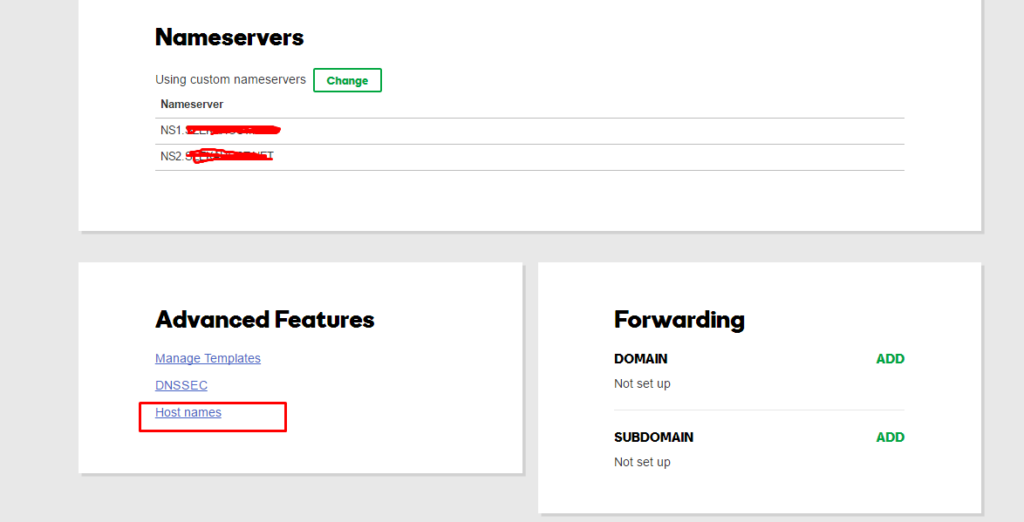
- Step 3 – Click Host Names

- Step 4 – Click Add

- Step 5 – Enter your details. ns1 and IP address and click Save

- Step 6 – Click Add Button again enter ns2 and ip. Then save.

- Step 7 – Go back

- Step 9 – Click change Under Nameservers.

- Step 10 – Select Custom Option and Enter you name servers you added in previous steps. ns1.<yourdomain> and ns2.<yourdomain>. Then click ok.
Step 12 – Click Save Button
Step 13 – Done. You need to wait some time and refresh the page to see the newly added details.

Godaddy domain panel has changed now kindly update this post
Dear Sharoz Dawa,
Thank you for the update. We will update the post.